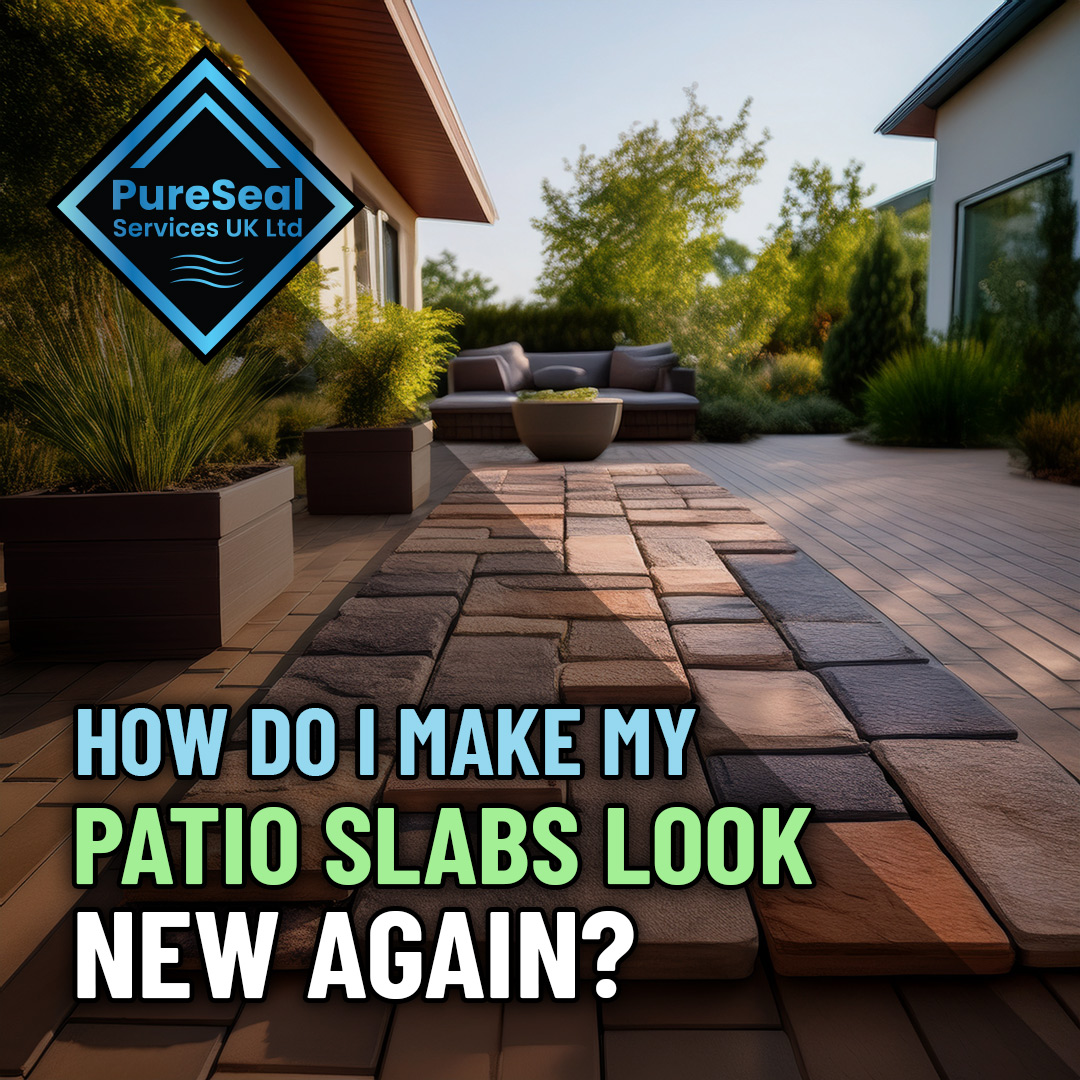
How Do I Make My Patio Slabs Look New Again?
A patio is often the heart of a garden – a place to relax with a cup of tea, fire up the barbecue in summer, or simply enjoy some fresh air. But after a few years, those once-pristine patio slabs can start to look tired. Algae, moss, lichen, grime, weeds, and even food or rust stains can all make your outdoor space feel unloved.
The good news? With the right methods, tools, and a bit of elbow grease, you can make your patio slabs look new again. In this guide, we’ll explore tried-and-tested cleaning techniques, preventative care tips, and budget-friendly approaches. Whether your slabs are concrete, sandstone, limestone, or porcelain, there’s a way to restore their sparkle.
Why Do Patio Slabs Get So Dirty?
Before we jump into solutions, it helps to understand what you’re dealing with. Patio slabs in the UK are exposed to a unique mix of challenges:
-
Weather: Frequent rain encourages moss and algae growth.
-
Shade: Slabs under trees or fences get less sun, staying damp for longer.
-
Soil and dust: Wind and foot traffic carry dirt onto the surface.
-
Food and drink spills: BBQs and outdoor dining can leave greasy stains.
-
Rust: Garden furniture or metal pots may leave unsightly marks.
Different materials also react differently – sandstone can be porous and absorb stains, while porcelain is more stain-resistant but still prone to surface grime.
Step 1: Clear the Area
Before you clean, move furniture, plant pots, and any ornaments out of the way. Sweep away loose leaves, twigs, and debris with a stiff brush. This will make the cleaning process more efficient and stop dirt getting trapped again.
Step 2: Choose Your Cleaning Method
There’s no single “right” way to clean patio slabs – it depends on the type of slab, how dirty they are, and your budget. Here’s a breakdown of the most common options:
1. Pressure Washing
A pressure washer is one of the fastest ways to revive patio slabs. It blasts away moss, algae, and ground-in dirt. However, use caution: too much pressure can damage softer stones like sandstone or limestone, and it may also loosen jointing mortar.
How to do it:
-
Use a fan nozzle rather than a pinpoint jet.
-
Start at a lower pressure (around 1300–1500 PSI) and increase if needed.
-
Work at a slight angle to lift dirt away.
-
Keep the nozzle at least 30cm from the surface.
Best for: Concrete, porcelain, or heavily soiled patios.
Avoid for: Delicate or old stonework.
2. Soapy Water and Elbow Grease
Sometimes the simplest method is the most effective. Warm water with washing-up liquid and a stiff-bristled yard brush can remove general grime without the risk of damage. It’s also eco-friendly and cheap.
How to do it:
-
Fill a bucket with hot water and a good squirt of washing-up liquid.
-
Pour onto the slabs.
-
Scrub in circular motions.
-
Rinse thoroughly with clean water.
Best for: Light dirt or regular maintenance.
3. Specialist Patio Cleaners
If algae, moss, or lichen are persistent, chemical patio cleaners can help. These come in concentrated solutions you dilute with water and apply with a watering can or sprayer.
There are two main types:
-
Biocidal cleaners: Kill organic growth and keep working for weeks.
-
Acid-based cleaners: Remove efflorescence (white salt deposits) and rust.
Cost: Around £10–£20 for 5 litres, which usually covers 20–40 m².
Best for: Stubborn biological growth and long-lasting results.
Avoid for: Limestone and marble (which can be etched by acid).
4. Homemade Solutions
For those on a budget, household products can sometimes do the trick:
-
White vinegar: Dilute 1:1 with water, apply, leave for 30 minutes, scrub, then rinse. Great for algae but avoid on limestone.
-
Baking soda: Sprinkle onto greasy stains, scrub, then rinse.
-
Bleach: Effective against moss and mould (use a 1:10 ratio of household bleach to water). Be cautious around plants and grass.
Cost: Usually under £5 for enough to cover a medium patio.
Comparison Table: Patio Cleaning Methods
| Method | Cost (approx.) | Best For | Drawbacks | Suitable For |
|---|---|---|---|---|
| Pressure Washing | £100+ (machine) or £40/day hire | Heavy grime, concrete, porcelain | Can damage soft stone or pointing | Concrete, porcelain |
| Soapy Water & Brush | £1–£2 (washing-up liquid) | Light dirt, maintenance | Hard work, less effective on stains | All slab types |
| Specialist Patio Cleaner | £10–£20 (5L) | Moss, algae, lichen, long-term | Some contain chemicals | Most (avoid on limestone) |
| White Vinegar Solution | £2–£3 (per litre) | Algae, light staining | Damages limestone/marble | Concrete, sandstone |
| Bleach Solution | £1–£2 (per litre) | Moss, mould | Harmful to plants, may discolour | Concrete, sandstone |
Step 3: Tackle Specific Problems
General cleaning often isn’t enough for certain stains. Here’s how to deal with the most common patio issues:
Moss and Weeds
-
Remove weeds from joints with a hand tool or weed burner.
-
Apply a biocidal patio cleaner to stop regrowth.
-
Refill joints with kiln-dried sand if needed.
Algae and Green Slime
-
Use a diluted bleach or specialist cleaner.
-
Improve drainage and sunlight exposure to prevent return.
Rust Stains
-
Use a commercial rust remover (around £12–£15).
-
Always test on a small patch first.
Oil and Grease Stains
-
Apply baking soda or cat litter to absorb oil.
-
Scrub with soapy water afterwards.
White Bloom (Efflorescence)
-
Caused by natural salts rising to the surface.
-
Usually fades over time, but acid-based cleaners can speed it up.
Step 4: Seal the Patio
Once your patio slabs are looking fresh again, consider applying a sealer. Patio sealants:
-
Protect against stains
-
Reduce algae growth
-
Make future cleaning easier
Sealants cost around £25–£40 for 5 litres, covering 25–50 m². Apply with a roller or sprayer on a dry day. Reapply every 2–3 years.
Cost Breakdown: DIY vs Professional Cleaning
If you’d rather not get your hands dirty, hiring a professional is another option.
| Option | Average Cost (UK) | What’s Included |
|---|---|---|
| DIY with soapy water | £2–£5 | Washing-up liquid, brush, bucket |
| DIY with pressure washer | £100–£150 (purchase) or £40/day (hire) | Machine, water, electricity |
| DIY with specialist cleaner | £10–£20 per treatment | Cleaning solution, brush/sprayer |
| Professional jet washing | £3–£6 per m² | Full wash, stain removal, re-sanding joints |
| Professional deep clean & seal | £8–£12 per m² | Cleaning plus protective sealant |
For a typical 30 m² patio, a professional deep clean and seal could cost between £240–£360. Doing it yourself with cleaners and a hired pressure washer might be under £80.
Step 5: Ongoing Maintenance
To keep your patio slabs looking new for longer:
-
Sweep regularly to prevent dirt build-up.
-
Move plant pots occasionally to avoid staining.
-
Clean spills quickly, especially oil or wine.
-
Apply a patio cleaner once or twice a year.
-
Reseal every few years if using a protective sealant.
Eco-Friendly Considerations
Many homeowners are looking for greener solutions. Here are some eco-friendly cleaning tips:
-
Use biodegradable cleaners (look for eco-labelled products).
-
Avoid bleach near flowerbeds and lawns.
-
Collect pressure washer run-off if possible, to prevent chemical spread.
-
Consider mechanical tools like wire brushes instead of chemical weed killers.
Which Patio Slab Material Needs What?
Different stones need different care.
| Slab Material | Characteristics | Cleaning Tips |
|---|---|---|
| Concrete | Durable, slightly porous | Fine with pressure washing and most cleaners |
| Sandstone | Porous, softer stone | Avoid strong acids; use gentle cleaners |
| Limestone | Very porous, sensitive to acid | Avoid vinegar/acid cleaners; seal after wash |
| Porcelain | Non-porous, modern finish | Easy to clean; pressure wash safe |
| Granite | Hard, dense stone | Jet wash fine; reseal for stain protection |
Common Mistakes to Avoid
-
Overusing bleach – can cause surface damage and harm plants.
-
Pressure washing too close – risks gouging stone or mortar.
-
Skipping the rinse – soap residues attract dirt quickly.
-
Not testing cleaners first – always test on a hidden slab.
-
Sealing a damp patio – can trap moisture and cause staining.
Seasonal Patio Care
The UK climate means patios face very different challenges depending on the season. A tailored approach will keep your slabs looking good year-round:
-
Spring: Tackle moss and algae after the wet winter. Ideal time for a deep clean.
-
Summer: Focus on stain removal from BBQs, food, and drink spills.
-
Autumn: Sweep regularly to prevent leaf stains and blocked drainage.
-
Winter: Avoid using salt for de-icing (it can damage stone); use sand or a non-corrosive de-icer instead.
Regular seasonal attention helps spread out the work and prevents deep staining from building up.
Natural Weed Control for Patio Joints
Weeds between patio slabs are one of the most common frustrations. While chemical weed killers are effective, there are natural alternatives that are safer for pets, children, and the environment:
-
Boiling water: Pour directly onto weeds to kill them instantly.
-
White vinegar spray: Effective for young weeds (avoid overspray on plants).
-
Salt solution: Mix salt with water, but use sparingly as it can affect soil health.
-
Re-sanding: Brush kiln-dried sand into the joints after cleaning to block weed growth.
This keeps your patio neater while avoiding harsh herbicides.
Budget vs Premium Patio Products
Not all cleaning and sealing products are created equal. Here’s a look at whether it’s worth paying more:
| Product Type | Budget Option (£) | Premium Option (£) | Pros of Premium |
|---|---|---|---|
| Patio Cleaner (5L) | £8–£12 | £20–£30 | Longer-lasting, eco formulas |
| Sealer (5L) | £25–£30 | £40–£60 | Enhanced stain resistance, UV protection |
| Rust Remover (1L) | £10–£12 | £18–£22 | Faster action, safer on delicate stone |
If you only clean once a year, budget options are fine. For long-term protection, premium products often save money by reducing reapplications.
DIY vs Hiring a Professional: Which Is Right for You?
Cleaning a patio yourself is satisfying, but not always practical. Here’s a quick comparison:
-
DIY: Cheap, flexible timing, rewarding. Requires tools, effort, and time.
-
Professional: Quick, high-quality finish, includes resealing. Costs more, but saves hassle.
Rule of thumb:
-
DIY is ideal for smaller patios under 20 m².
-
Professionals are worth it for larger patios, badly stained areas, or when resealing is needed.
Long-Term Patio Upgrade Ideas
If your slabs are beyond simple cleaning, or you want a fresh look, consider these upgrades:
-
Repointing joints: Replace old mortar or sand for a crisp look.
-
Adding edging stones: Prevents soil run-off and frames the patio.
-
Installing new lighting: Uplights or string lights make a patio look modern.
-
Replacing a few slabs: If only a handful are stained or cracked, swapping them can lift the whole space.
-
Patio resurfacing: Applying a thin overlay of resin-bound gravel or outdoor tiles gives a brand-new finish without full replacement.
These options range from small fixes to full transformations, depending on your budget.
Final Thoughts
Restoring your patio doesn’t have to cost a fortune. Whether you prefer eco-friendly scrubbing with vinegar and a brush, or a full-on jet wash with professional sealing, there’s a solution to suit every budget. The key is choosing the right method for your slab type and level of dirt.
With a weekend’s effort, you can bring back the look of a brand-new patio – making your garden the perfect place to enjoy those rare sunny days in the UK.
Tags: Driveway cleaning, pressure washing, Roof Cleaning, Exterior cleaning, gutter cleaning, window cleaning, Patio cleaning